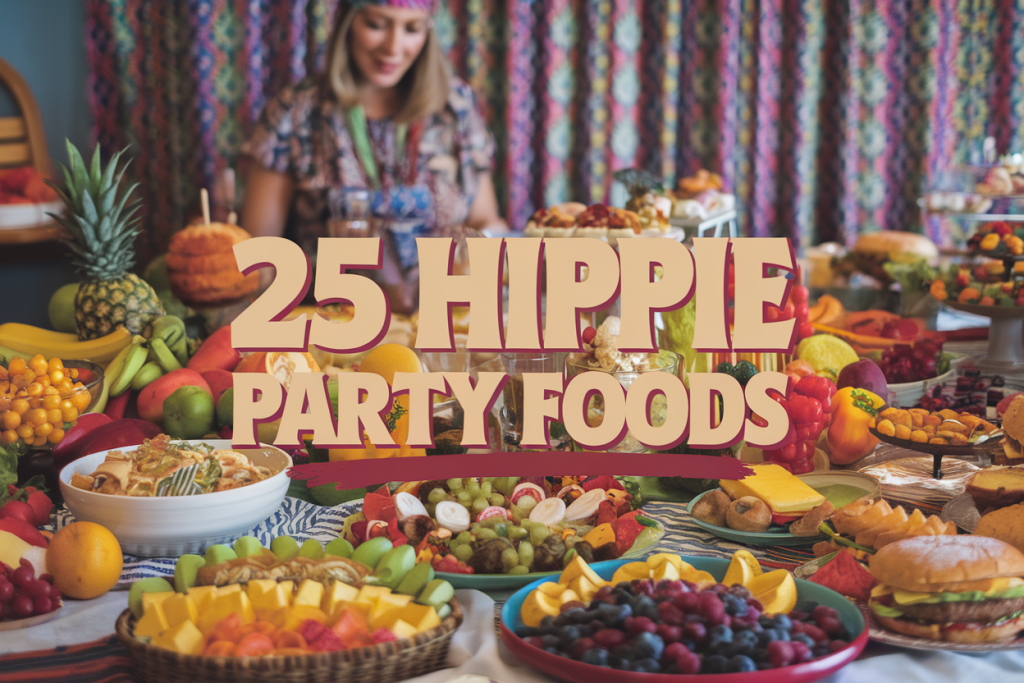
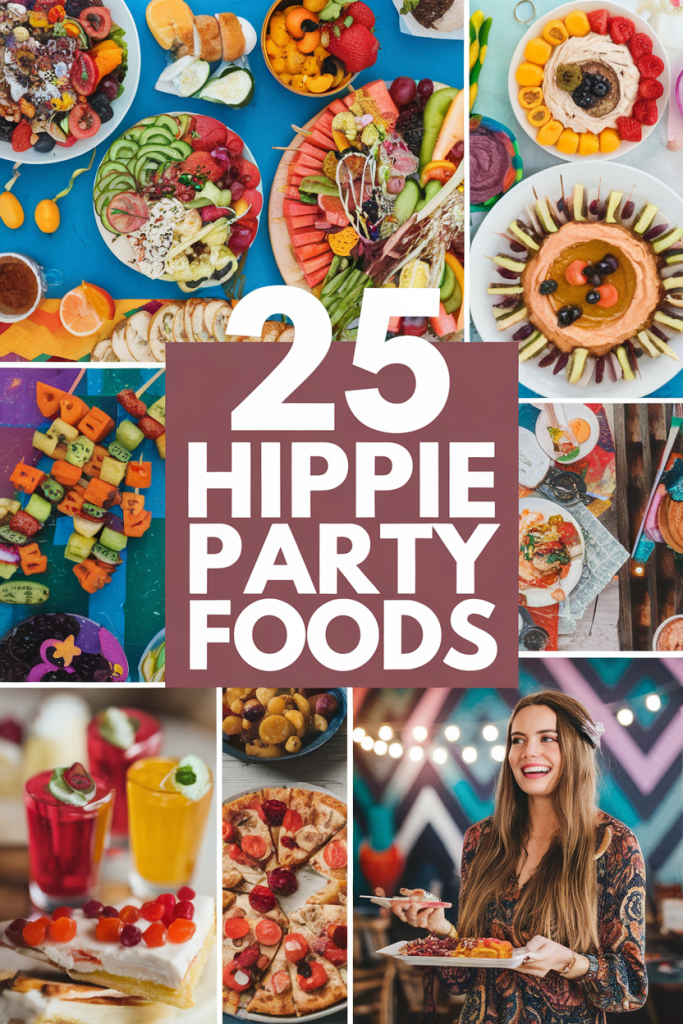
Hippie Party Food Ideas
Let’s be real: planning a party can be equal parts excitement and chaos. You’re juggling decorations, music, invites, and, oh yeah—the food. Sometimes it feels like you need to channel some cosmic energy just to get everything done.
But don’t worry! Whether you’re wearing bell-bottoms, flower crowns, or just want a healthy twist on retro snacks, this hippie-inspired spread is here to make your bash shine.
From psychedelic pizzas to tie-dye fruit skewers, we’ve got a kaleidoscope of flavors that will delight your guests and still keep things (relatively) fuss-free. Ready to dig in? Let’s groove!
Groovy Hippie Party Supplies
Throw a colorful bash that pops with peace signs, flower power, and retro charm. Find tie dye tableware, daisy garlands, funky banners, photo booth props, vinyl record backdrop ideas, and bright favor bags that make setup simple and the vibe unforgettable. Perfect for birthdays, youth nights, showers, and church socials where you want happy color and easy hosting.
Shop Hippie Party Picks1. Tie-Dye Fruit Skewers
There’s something magical about a rainbow of fruit on a stick, especially if you’re aiming for that classic tie-dye effect. When I first tried these, I thought, “How hard can fruit on a stick be?”—but let me tell you, there’s an art to capturing that swirling color pattern.
Thankfully, it’s basically foolproof as long as you choose vibrant fruits. Think juicy strawberries, deep-purple grapes, sunshine-yellow pineapple, and bright-green kiwi slices. Arrange them in a gradient, and you’re on your way to a party snack that practically doubles as edible décor.
- Colorful Variety: Select fruits that cover the whole spectrum—red, orange, yellow, green, blue (maybe blueberries?), and purple.
- Simple Assembly: Thread them onto wooden or bamboo skewers, but leave a little room at the tip so you can easily handle them.
- Fun Dips: Want extra flair? Offer a side of honey-yogurt drizzle or melted chocolate for dunking.
- Pro Tip: Arrange the skewers in a vase or stand them upright in foam blocks for that “WOW” factor.
Trust me, once you see these bright beauties on your table, you’ll feel like you’ve been transported to a 70s music festival—minus the mud, of course.
2. Flower Power Pita Pockets
If you’re in the mood for something wholesome and reminiscent of a 70s health craze, these mini pita pockets will hit the spot. Picture biting into pillowy bread stuffed with crunchy veggies and the irresistible creaminess of hummus. I’ve definitely had moments where I tried to stuff them with too many sprouts and ended up with a veggie avalanche—but hey, that’s part of the fun, right?
- Healthy Fillings: Use classic hummus as the base, then layer on shredded carrots, cucumber slices, or even pickled onions for a tangy twist.
- Sprout It Up: Alfalfa or bean sprouts add that boho-chic vibe—plus, they’re super nutritious.
- Sauce & Seasonings: A squirt of lemon juice or a dash of paprika can take the flavor up a notch.
- Portion Control: Mini pitas are perfect for mingling guests who don’t want to juggle a massive sandwich in one hand and a drink in the other.
Between the fresh crunch and the laid-back presentation, these pockets are as relaxed as a Sunday morning yoga sesh. And if you accidentally drop a sprout or two on the floor, just chalk it up to that free-spirited vibe.
3. Groovy Guacamole Bar
Listen, guacamole is basically the universal love language at parties. Whether you’re going for a hippie theme or a Mexican fiesta, a DIY guac station is the best of both worlds. I’ll admit, I’ve had nights where I overestimated how many avocados my blender could handle (pro tip: don’t do that!). But when you nail the right combo of creamy and tangy, it’s guac bliss.
- Avocado Central: Aim for perfectly ripe avocados—soft to the touch but not mushy.
- Topping Variety: Provide diced tomatoes, red onions, jalapeños, cilantro, lime wedges, and maybe even chopped mango for a sweet twist.
- Spice Control: Some folks love the heat, others not so much. Let them customize!
- Keep It Green: Squeeze extra lime juice on top to prevent browning—there’s nothing groovy about gray guac.
The best part is watching your friends get creative: a sprinkle of chili flakes here, a handful of diced tomatoes there. Suddenly, everyone’s a guacamole artist. Just don’t be surprised if the bowl’s empty before you can even snap a photo.
4. Peaceful Pesto Pasta Salad
Light, bright, and oh-so-tasty, pesto pasta salad feels like summer in a bowl—even if your party is indoors. When I first made a vegan pesto, I was worried it wouldn’t measure up to the parmesan-loaded version. But guess what? Nutritional yeast or a little cashew cream works wonders, giving you that cheesy taste without the dairy.
- Pasta Picks: Choose colorful fusilli or bow-ties for a more festive look.
- Herb Heaven: Basil is classic, but experiment with spinach or arugula to switch things up.
- Vegan Twist: Instead of parmesan, use nutritional yeast or toasted walnuts for a creamy, nutty depth.
- Add-Ins: Chopped cherry tomatoes, olives, and maybe a little red onion keep the flavors lively.
Once you toss it all together, you’ve got a chilled dish that travels well, so it’s perfect for potlucks or backyard gatherings. And here’s a secret: it tastes even better the next day. So if you’re lucky enough to score leftovers, you’ve already won at life.
5. Retro Rainbow Wraps
Imagine a tortilla so jam-packed with colorful veggies, it looks like a 70s poster came to life. That’s the vibe these wraps bring. I remember the first time I tried layering different colored peppers in a wrap—it looked like a piece of edible art. The real surprise? They’re actually super simple to make.
- Tortilla Choice: Spinach tortillas, tomato tortillas, or whole wheat—anything that adds a pop of color.
- Layer, Layer, Layer: Start with a swipe of hummus or cream cheese, then add rows of bell peppers, grated carrots, lettuce, and maybe some purple cabbage.
- Roll and Slice: Cut them into pinwheels for bite-sized pieces that show off every vibrant layer.
- Keep It Fresh: A drizzle of lemon or lime juice will brighten those veggies and keep them crisp.
The beauty of these wraps is that they’re just as nutritious as they are eye-catching. Serve them on a platter, and watch your guests marvel at the rainbow effect—like a pot of gold at the end of the lunch table.
6. Psychedelic Pizza Bites
Ah, mini pizzas: the perfect intersection of fun and functional. They’re big enough to satisfy, small enough to leave you room to sample other treats (because who goes to a party and only tries one thing?). I once tried to swirl a tie-dye pattern into the sauce—results were debatable, but it tasted great anyway!
- Size Matters: Use mini pizza crusts, English muffins, or even halved bagels to keep these bites easy to handle.
- Swirly Sauce: Mix marinara and a little pesto for that swirling, “psychedelic” color effect.
- Top It Off: Go wild with peppers, olives, spinach, and maybe some pineapple if you dare to tread that sweet-savory line.
- Cheesy Goodness: Dairy or vegan cheese melts into gooey perfection—just be sure to watch them in the oven so they don’t burn.
Serve these warm, and let the gooey cheese and swirling sauces transport your taste buds straight to Woodstock (minus the mud and traffic jams). Good luck keeping your hands off these once they come out of the oven!
7. Trippy Tofu Tacos
For a groovy twist that’s both vegan and bursting with flavor, tofu tacos are where it’s at. I’ve definitely had my fair share of tofu mishaps—like that time I forgot to press the tofu and ended up with watery, bland cubes. But once you master marinating and seasoning, you’re golden.
- Press It: Drain and press the tofu to remove excess liquid, so it absorbs your marinade.
- Marinade Magic: A combo of lime juice, chili powder, cumin, and garlic can transform tofu from snooze-worthy to mouthwatering.
- Crunch Factor: Top with fresh salsa, shredded lettuce, and maybe some crunchy cabbage.
- Avocado Dreams: A few slices of creamy avocado take these tacos to the next level.
These tacos also blend seamlessly into a tropical theme if you toss some pineapple into the mix or serve them alongside a fruity mocktail. And if your non-vegan friends raise an eyebrow, just watch them go for seconds once they get a taste of that zesty tofu.
8. Hippie Hummus Platter
Hummus might just be the ultimate hippie dip—protein-packed, plant-based, and oh-so-versatile. Every time I put out multiple hummus flavors, I’m secretly hoping nobody else loves the beet hummus so I can keep it all to myself (spoiler alert: they always love it).
- Flavor Trio: Offer classic chickpea hummus, roasted red pepper hummus, and a “wild card” like beet or spinach-artichoke.
- Dip Delivery: Serve with crisp veggies (carrots, cucumbers, bell peppers) and pita chips.
- Seasonal Twist: Top with fresh herbs, a drizzle of olive oil, or even pomegranate seeds if you’re feeling fancy.
- Make It Your Own: Add extra garlic, roasted onions, or spices like smoked paprika to really personalize it.
Set this platter in the center of your snack table, and watch people gravitate toward it like it’s a lava lamp at a retro party. It’s colorful, it’s healthy, and it’s downright groovy.
9. Far Out Falafel Sliders
Ever bite into a fluffy falafel patty and think, “I could eat a hundred of these”? That’s exactly the vibe these mini sliders bring to your party. They pack that Middle Eastern flair in a size that’s easy to handle—no giant burger buns, no sliding toppings, just bite-sized bliss.
- Falafel Foundation: Whether you make your own or grab a mix, focus on the crispy exterior and soft interior.
- Slider Buns: Soft slider buns or mini pitas keep the presentation cute.
- Dress Them Up: A dollop of tahini sauce, crisp lettuce, diced tomatoes, and pickles for tang.
- Extra Crunch: Add shaved cucumbers or sprouts if you’re going for that full hippie effect.
Trust me, once people see a tray of these, they’ll be gone in seconds. Bonus tip: falafels are surprisingly budget-friendly if you’re feeding a crowd. Just don’t be surprised when your guests ask, “Can we get the bigger version next time?”
10. Boho Buddha Bowls
Buddha bowls are like a party in a single dish—colorful, nourishing, and open to endless customization. The first time I put out a Buddha bowl bar, I worried it’d be overwhelming. But people love mixing and matching their own combos, like they’re painting a little edible masterpiece.
- Grain Base: Start with quinoa, brown rice, or even farro.
- Protein Picks: Roasted chickpeas, black beans, or grilled tempeh to keep it plant-friendly.
- Vibrant Veggies: Think rainbow—roasted sweet potatoes, red cabbage, kale, bell peppers.
- Dress It Up: A creamy tahini sauce or zesty vinaigrette brings it all together.
Set out all the ingredients buffet-style, and let everyone assemble their dream bowl. It’s a little slice of laid-back heaven, and you can practically feel the positivity swirling around once they take that first bite.
11. Groovy Grilled Portobello Burgers
If you’re craving a substantial burger without the meat, portobello mushrooms are your new best friend. I’ve definitely had times where I marinated them too long, and they ended up a bit squishy. But get the timing right, and you’ll have a meaty texture that’ll make even carnivores do a double-take.
- Mushroom Magic: Choose large, firm portobello caps and remove the stems.
- Marinade: Olive oil, balsamic vinegar, garlic, and a pinch of herbs—soak ‘em up for 15-20 minutes.
- Grill or Pan-Sear: High heat gives you those char marks and seals in flavor.
- Burger Stack: Layer with lettuce, tomato, onion, and a tangy sauce on a toasted bun.
Serve these at your hippie bash, and watch your guests say, “Wait, this isn’t beef?” in the best possible way. Plus, the smoky flavor pairs perfectly with any side dish you can dream up, from sweet potato fries to crunchy slaw.
12. Cosmic Corn on the Cob
Corn on the cob is a summer staple, but you can dial up the cosmic vibes with a few creative twists. Picture sweet corn sprinkled with bright spices and drizzled with tangy lime butter. At one cookout, I tried mixing chili powder and lime zest in melted butter—everyone fought over the last ear like it was the fountain of youth.
- Grill or Boil: Choose your method—grilling adds smoky flavor, but boiling is easier if you’re short on time.
- Seasoning Magic: Chili powder, smoked paprika, or even Cajun spices to kick things up a notch.
- Lime-Infused Butter: Melt butter with lime juice and zest, then brush liberally over hot corn.
- Toppings: Some folks love cheese on top (cotija or feta), others keep it dairy-free. Let them decide!
Keep extra napkins handy—things might get messy, and that’s part of the charm. There’s nothing quite like crunchy kernels dripping with buttery flavor to make you feel like you’re at a festival.
13. Psychedelic Pasta Pesto
Yes, we’ve talked pesto pasta salad, but let’s take it one step further by adding a swirl of colorful surprises. One time, I blended roasted beets into my pesto, and it came out this gorgeous hot-pink hue that had everyone asking for the recipe.
- Choose Your Base: Traditional basil pesto is amazing, but feel free to blend in spinach, kale, or even roasted beets for that vivid color.
- Nutty Twist: Pine nuts are classic, but walnuts or almonds can offer a unique flavor.
- Cream Factor: A spoonful of vegan cream cheese or regular cream cheese can make this sauce extra velvety.
- Toppings: Garnish with fresh basil leaves, grated vegan parmesan, or real parm if you prefer.
If you’re aiming for a truly psychedelic look, serve this pasta in a bright serving dish and watch your guests’ eyes light up. It might just be the star of the entire spread.
14. Zen Zucchini Fries
If you’re craving something crunchy and satisfying without the guilt trip of regular fries, zucchini fries are about to be your new fave. I remember the first time I tried baking them—I assumed they’d be soggy, but a little bit of panko breading did wonders, and they crisped up nicely.
- Slice & Season: Cut zucchini into fry-like strips, then toss them with olive oil, salt, pepper, and maybe a sprinkle of paprika.
- Coating: Dip in beaten egg or a vegan alternative, then roll in panko or breadcrumbs.
- Bake, Don’t Fry: Pop them in the oven at high heat for a healthy crunch without the oil mess.
- Dipping Sauces: Pair with spicy mayo, ranch, or even marinara to keep things interesting.
People love finger foods, especially ones that don’t leave them feeling weighed down. And hey, if you catch someone double-dipping, cut ‘em a little slack—it’s a party, after all!
15. Flower Child Fruit Dip
Ready to sweeten things up? A fruit dip is always a crowd-pleaser, but we’re giving it a flower-child twist with light, wholesome ingredients. I once tried mixing Greek yogurt with a dash of honey and a drop of food coloring—boom, pastel delight.
- Creamy Base: Greek yogurt or a vegan alternative (like coconut yogurt) sets the stage.
- Sweeten Naturally: Honey, agave, or maple syrup for that subtle sweetness.
- Flavor Boost: Stir in a little vanilla extract or cinnamon for extra depth.
- Perfect Pairings: Apple slices, strawberries, melon chunks—whatever fruit you’ve got on hand.
Arrange the fruit around a dip bowl, garnish with edible flowers if you’re feeling fancy, and watch how quickly this dish disappears. It’s a little nod to carefree days and sunshine vibes, minus the questionable 70s hairstyles.
16. Tie-Dye Tempura Veggies
Tempura veggies might sound complex, but they’re actually quite straightforward once you get into the groove. The tie-dye effect? That’s all about choosing veggies with different vibrant hues and mixing up some colorful dips. I still remember the day I discovered you can add spirulina or beet juice to create funky-colored batters—talk about next-level party flair.
- Veggie Rainbow: Carrots, broccoli, sweet potatoes, bell peppers—anything goes.
- Light Batter: A simple mix of flour and club soda works wonders for crispness.
- Fry or Bake: Traditional tempura is fried, but you can bake them to cut down on oil.
- Dipping Sauces: Offer a soy-ginger sauce, a spicy chili dip, and maybe a tangy mustard blend for variety.
There’s something endlessly fun about crunchy, colorful veggies that look like they belong on a festival poster. Just be prepared for the “Oohs” and “Aahs” when you bring these out.
17. Groovy Garden Quesadillas
Who can resist a gooey quesadilla stuffed with fresh, colorful veggies? Not me, that’s for sure. I once tried sneaking kale into my quesadillas—and you know what? People actually loved it. Just don’t go overboard and end up with a salad avalanche inside the tortilla.
- Tortilla Times: Flour tortillas are classic, but whole wheat or gluten-free tortillas work too.
- Veggie Medley: Bell peppers, spinach, black beans, onions—go for variety.
- Cheese It Up: Shredded cheddar or a vegan cheese alternative that melts nicely.
- Salsa Sizzle: Serve with your favorite salsa or a side of guac to tie it all together.
Whip up a big stack of these, cut them into wedges, and watch them vanish before you can say, “Peace, love, and guacamole.” They’re hearty, delicious, and wonderfully low-key.
18. Bohemian Bean Burgers
Homemade bean burgers are the epitome of “hippie food,” and I say that with love. They’re hearty, they’re healthy, and they’re way tastier than you might assume if you’ve only had the frozen kind. I’ve definitely had a few crumbly disasters, but practice makes perfect.
- Bean Base: Black beans, chickpeas, or kidney beans all work. Mash them with a fork or in a food processor.
- Binder: Oats, breadcrumbs, or ground flax seed can help hold everything together.
- Flavor Fusion: Spice them up with cumin, paprika, garlic, or fresh herbs.
- Cook Your Way: Bake them or pan-fry—either way, aim for a golden crust.
Slap these patties on a whole-grain bun with lettuce, tomato, and a zippy sauce, and you’ve got a burger that even your meat-loving uncle might appreciate. One bite, and you’ll remember why hippie culture was all about peace, love, and good eats.
19. Flower Power Fondue
Fondue is retro in the best possible way—it turns eating into a social affair where everyone’s hovering around a pot of melted goodness. The hippie twist? Go vegan or do half vegan cheese, half chocolate fondue. Because why not?
- Cheese or Chocolate: Traditional cheese fondue can be swapped for a vegan cashew-based version; chocolate fondue is always a hit.
- Dipper Delights: Crusty bread cubes, apple slices, strawberries, broccoli florets—get creative!
- Easy Setup: Fondue pots keep the dip warm, but a slow cooker on low works too.
- Social Magic: Everyone loves chatting while they swirl their chosen morsel in that molten dip.
Be prepared for the occasional fondue fork mishap—somebody’s bound to lose their bread in the pot. That’s just part of the communal experience, right?
20. Hippie Harvest Smoothie Bowls
Smoothie bowls aren’t just for breakfast anymore. They’re perfect for an energizing party pick-me-up, especially if you’re dancing the night away under twinkling lights (or your kitchen’s overhead bulbs, no judgment!). The first time I made one at a party, it felt a bit fancy—like I was hosting a spa retreat in my living room.
- Base Blend: Frozen bananas, mixed berries, maybe a little spinach for greenery.
- Liquid Choice: Almond milk, coconut water, or regular milk—it all works.
- Bowl Toppers: Granola, shredded coconut, chia seeds, fresh fruit slices.
- Tropical Twist: Add pineapple or mango if you want that beachy vibe.
Hand these out with a spoon and watch the crowd go bananas (pun intended) for that thick, creamy texture. Plus, the garnishes make them irresistibly Instagram-worthy.
21. Psychedelic Popcorn Mix
Popcorn is arguably one of the easiest party snacks, but we’re taking it to new dimensions. Think flavor combos that make your taste buds dance. I remember the first time I sprinkled nutritional yeast on popcorn—it changed my life. Seriously. It’s like instant cheese flavor without the dairy.
- Classic Base: Air-pop or stovetop-pop some plain kernels.
- Spice It Up: Try chili lime, cinnamon sugar, or a garlic-herb blend.
- Cheesy Vibes: Nutritional yeast for the plant-based cheese effect, or real grated parmesan for the dairy lovers.
- Colorful Confetti: Mix in dried fruit or candy-coated chocolates if you’re feeling whimsical.
Serve it in funky-colored paper bags or a giant bowl. Just warn people: once they start munching, they might not stop.
22. Groovy Grape Gazpacho
Okay, I know cold soup can be a hard sell, but trust me—this is a hidden gem. Think of it as a refreshing, sophisticated take on regular tomato gazpacho. I first tried grape gazpacho at a friend’s backyard party and was instantly hooked. It’s the ultimate palate cleanser on a hot day.
- Blend It Up: Seedless green grapes, cucumbers, a bit of garlic, olive oil, and vinegar.
- Season Lightly: A pinch of salt and pepper to balance the sweetness of the grapes.
- Chill Factor: Let it sit in the fridge for a few hours to let flavors meld.
- Garnish: Top with chopped mint or basil, and maybe a drizzle of olive oil for that fancy flair.
It’s a conversation starter, for sure. People might say, “Grapes in soup?” but watch their eyes light up after one spoonful. A perfect match for those times you want to look like a gourmet wizard.
23. Cosmic Coconut Rice
If you’re daydreaming of a tropical getaway, coconut rice will transport you faster than you can say “Aloha!” It’s sweet, fragrant, and unbelievably easy. My biggest tip? Rinse your rice thoroughly and then sub in coconut milk for some of the cooking water. The aroma alone could save you on airfare.
- Simple Method: Use a rice cooker or stovetop, half water, half coconut milk.
- Flavor Accents: Add a pinch of salt, a little sugar (or honey), and maybe some lime zest.
- Tropical Twist: Stir in pineapple tidbits or shredded coconut right before serving.
- Side or Base: Serve alongside a curry, grilled veggies, or as the base of a pineapple fried rice.
One spoonful and you’ll feel that chill island energy, no passport required. Your guests will thank you for the mini-vacation—just remind them not to book any flights while under the coconut rice trance.
24. Hippie Herb-Infused Iced Tea
Nothing beats a refreshing glass of herbal iced tea on a warm day—or even a chilly day when you just need a little pick-me-up. I love experimenting with combos like basil and lemon or mint and hibiscus. One summer, I had so many herbs in my backyard that my entire fridge was full of Mason jars of different brews.
- Pick Your Leaves: Mint, basil, rosemary, or a blend—get creative.
- Steep It: Brew a strong herbal tea (or use fruit-based tea bags) and let it cool.
- Citrus Zing: Add slices of lemon, lime, or oranges for extra color and flavor.
- Sweet or Not: Honey, agave, or stevia if you like it sweet. Keep it pure if you’re more zen.
Serve in a big pitcher with plenty of ice, and watch your friends go for refills. If you’re feeling extra fancy, garnish each glass with a sprig of fresh herb. It’s the little things that make it feel groovy.
25. Trippy Tiramisu Parfaits
Let’s end on a sweet, indulgent note—tiramisu parfaits with a lighter, groovier twist. If you’ve ever tried making a full tiramisu, you know it can be a multi-step marathon. But deconstructing it into parfait glasses is a game-changer, trust me.
- Layer Logic: Alternate coffee-soaked ladyfingers (or sponge cake) with sweet mascarpone cream.
- Lighter Swap: Use Greek yogurt or whipped coconut cream for a softer calorie load.
- Flavor Boost: A splash of coffee liqueur or strong espresso for that signature tiramisu kick.
- Dust & Decor: Top each glass with a sprinkle of cocoa powder. Maybe add edible flowers for that final hippie flourish.
Line these up at your dessert station, and watch your guests oooh and ahhh. It’s rich, it’s creamy, and it’s totally worthy of a trippy disco ball finale.
Whether you’re a seasoned party pro or hosting your first get-together, these 25 Hippie-Themed foods are here to bring color, fun, and a dash of peace-and-love energy to your table. From tie-dye fruit to trippy tiramisu, you’ll have your guests vibing in no time. So crank up the funky tunes, slip into something that screams “flower power,” and let’s get this groovy party started. You’ve got all the ingredients for a night that’ll go down in retro-healthy history!